

Creating a server on DigitalOcean is a quick and easy process that can be done in a matter of minutes. In this article, I will walk you through the steps of creating a server on DigitalOcean, so you can start building your website or application in no time.
Step 1: Sign up for DigitalOcean
The first step in creating a server on DigitalOcean is to sign up for an account. You can do this by visiting the DigitalOcean website and clicking on the "Sign Up" button. Once you have signed up, you will be prompted to verify your email address. You can also sign up with your Gmail account.

Step 2: Create a Droplet
Once you have signed up and verified your email, you can log in to your DigitalOcean account and click on the "Create" button. From there, you will be prompted to select the type of server you want to create.
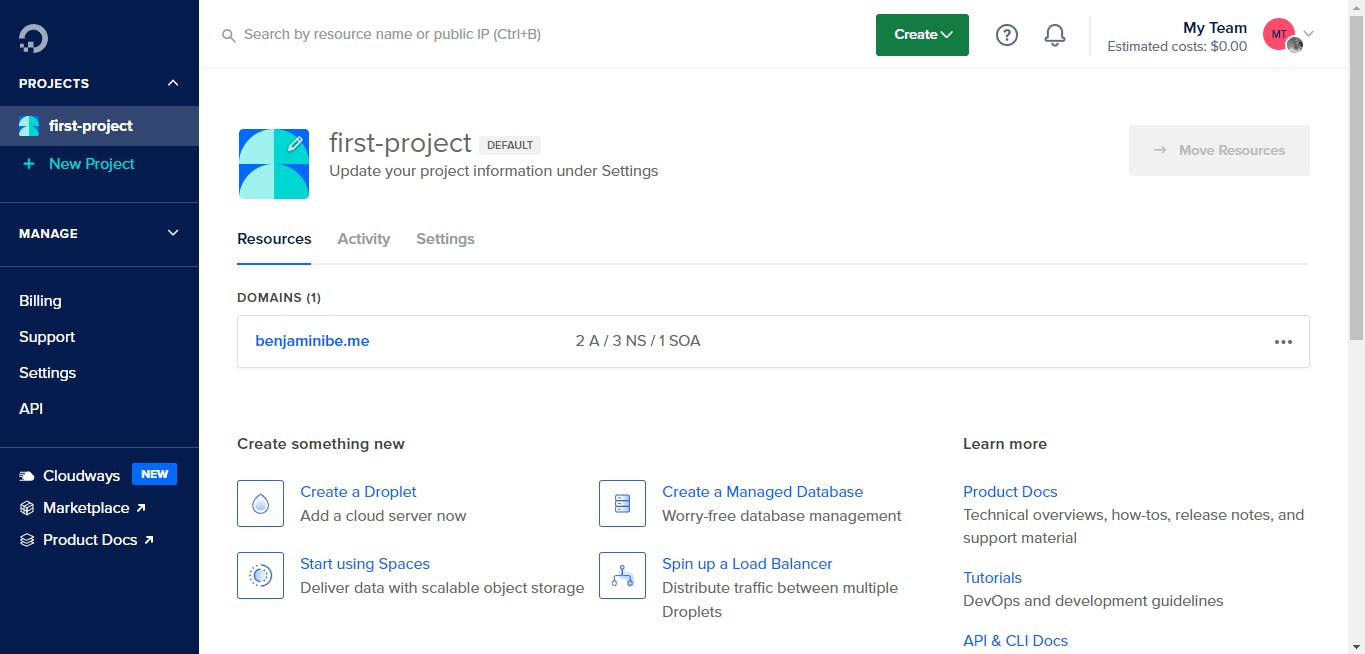
Click on droplets. then you see a page like this. Click on create a droplet on the right-hand side to create your new droplet.
Step 3: Choose your server's specifications
After selecting the type of server you want to create, you will be prompted to choose the server's specifications. This includes the server's operating system, the amount of memory and storage, and the location of the server.
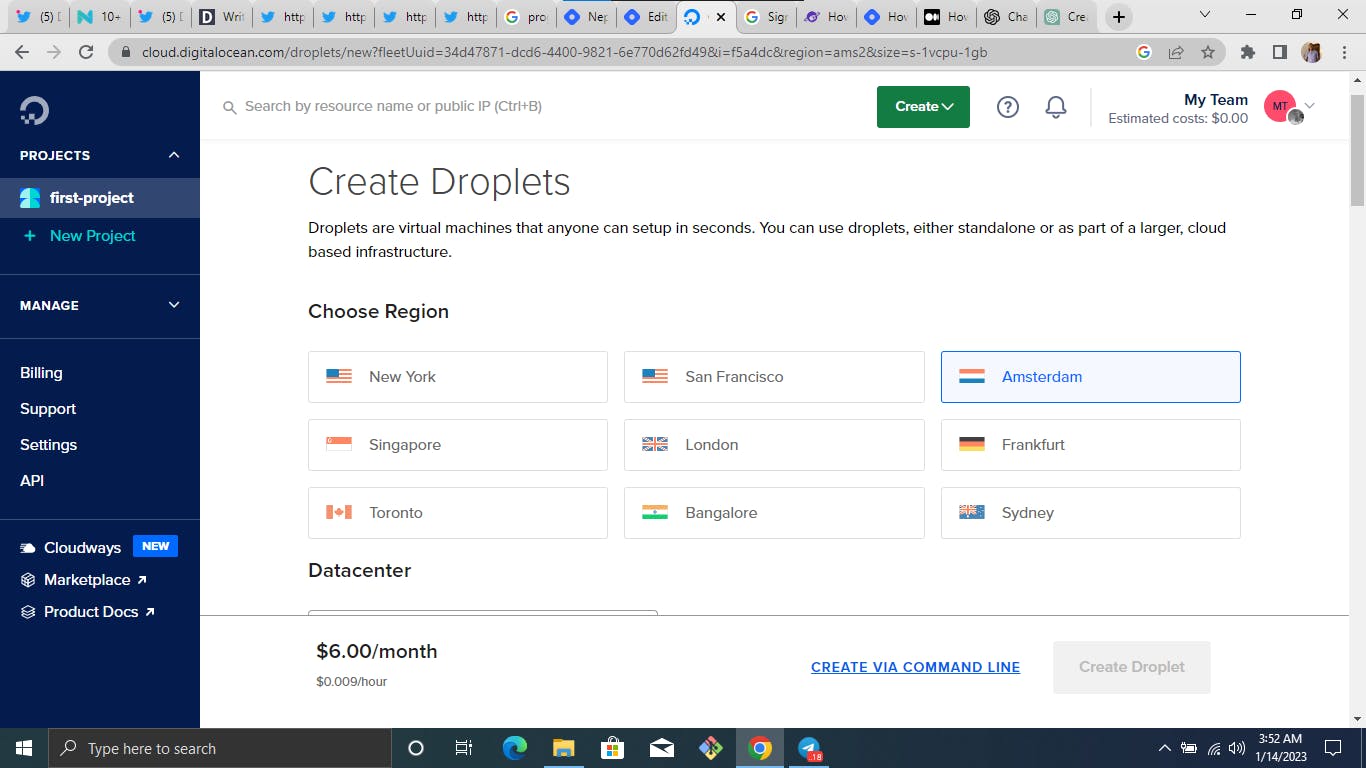
When you do that, you will see a page exactly like this. Now here all you need to choose is the region that is closer to where you are. As for me, I am going to be choosing Amsterdam because Amsterdam is closer to where I stay. You might be wondering why you need to pick a region closer to you and that is because the closer the region the faster the virtual machine (server).
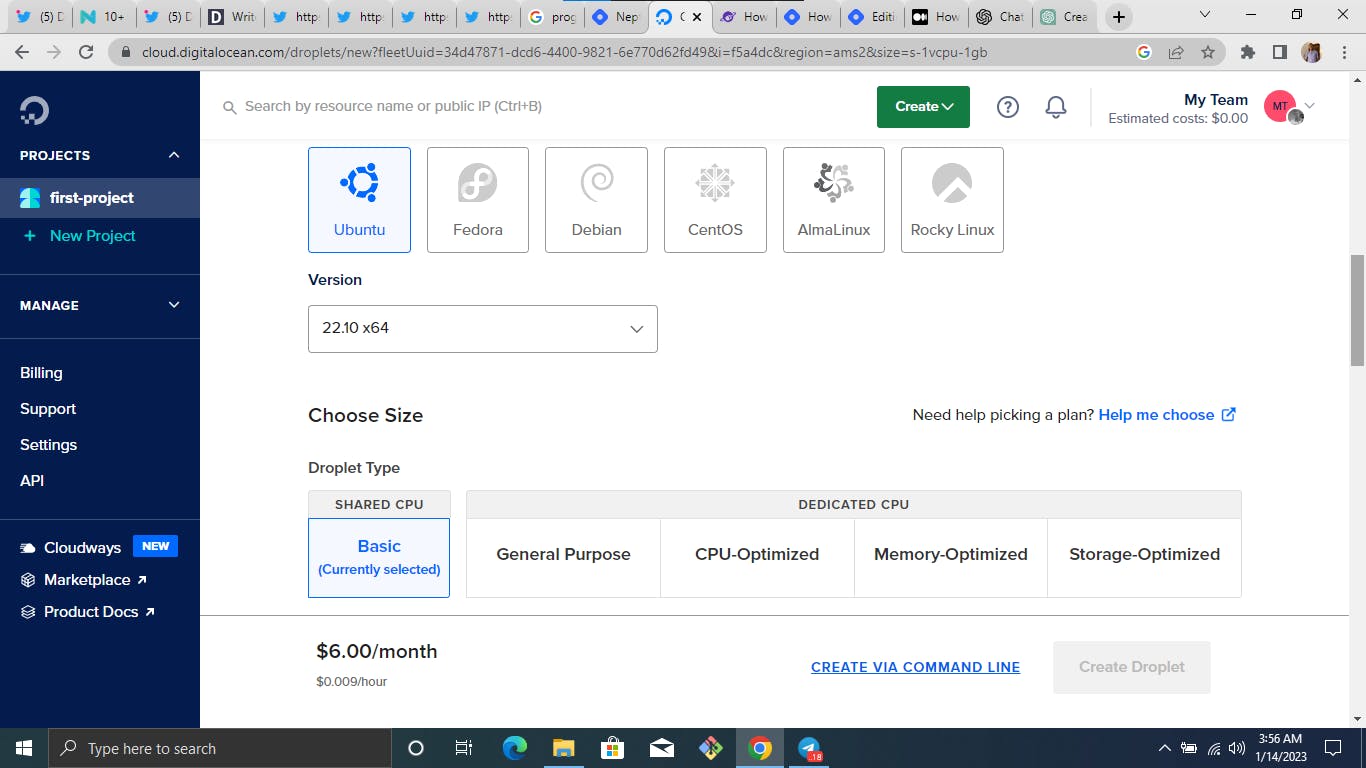
Scrolling down a little is where we see a section to select our image. In this case, I will be choosing ubuntu and you can see the list of versions by clicking on it, but I am going with the latest version.
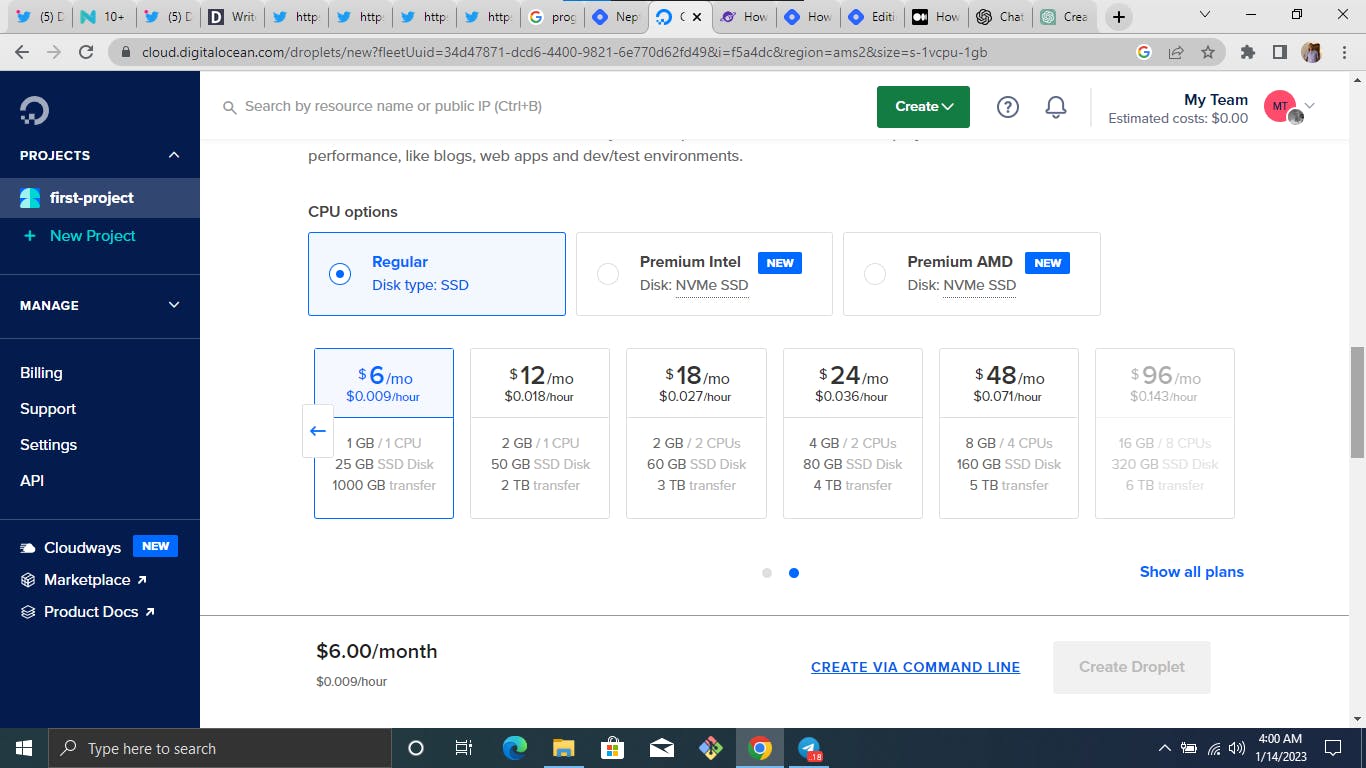
Next, we move to the next section. I am going to reduce the cost in this blog because we are just creating a practical server and this server is going to be on regular and $6 per month with 1GB/1cpu and 25GB SSD disk. Note that you can scale this up depending on your needs and what the server is going to be doing for you, your business, or your company.
Step 4: Add any additional options
Once you have selected the server's specifications, you can add any additional options that you may need. This includes adding a firewall, enabling backups, and choosing a data center region.
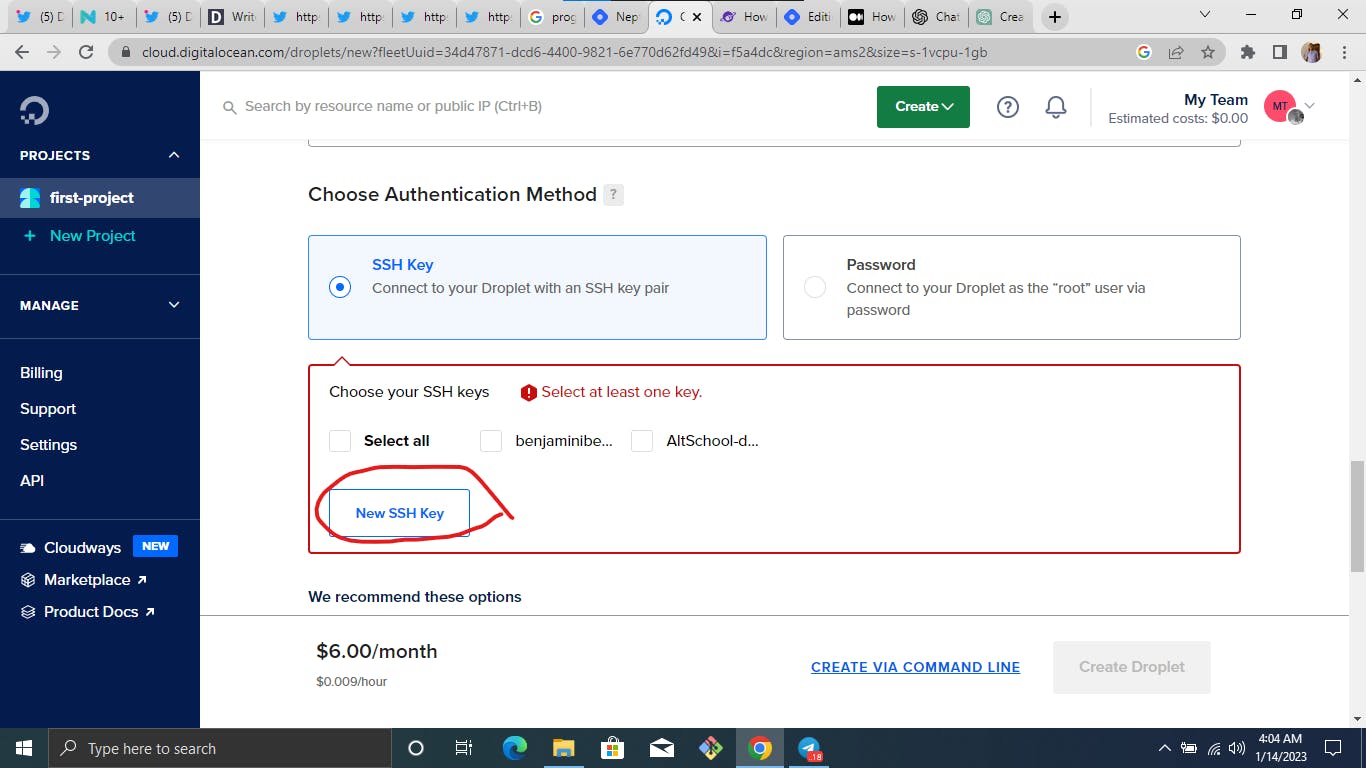
Now that we are done with that in this section, we will need to choose an authentication method either through SSH or through passwords. But in this blog, we are going to use SSH because using SSH is more secure. Now, to create an SSH key, you just need to go to your local virtual machine that can be created through the virtual box or VMware.

Above is where you see the command to generate the SSH key for authentication any time you want to SSH into your server.

This is the default part that the SSH should be stored. Just click enter.
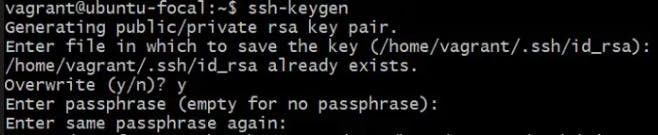
When creating the SSH key, it will ask you for a passphrase. You don’t need to type anything there. Just click enter.
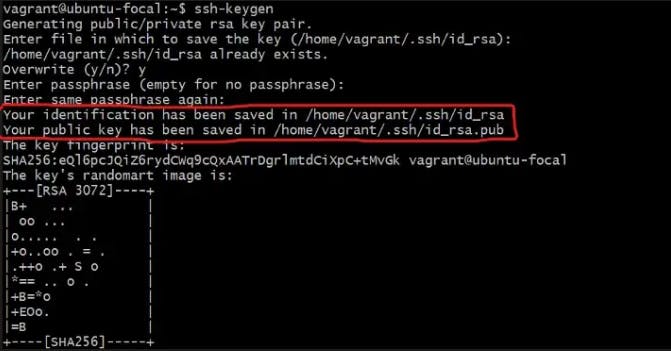
We can see that the SSH key has been created and you can see the contents of the public key with the path above circled in red.

Note that it should not share the content of your private key with anyone. Even digital ocean will not ask for it. But your public key can be shared anywhere.
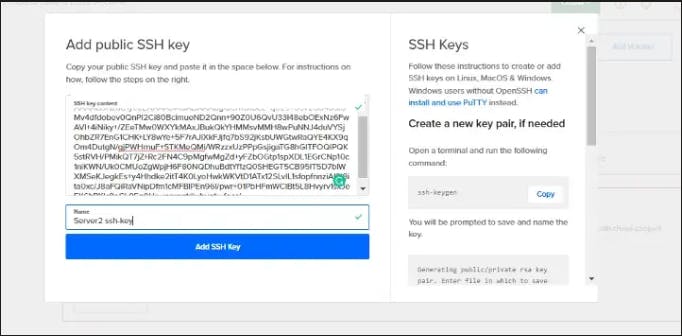
Copy this key and paste it into this section where you are told to add a new SSH key. and now you can add the ssh key. If you look on the right-hand side, you will see a guide to help you create an SSH key and also how to input it into digital ocean.
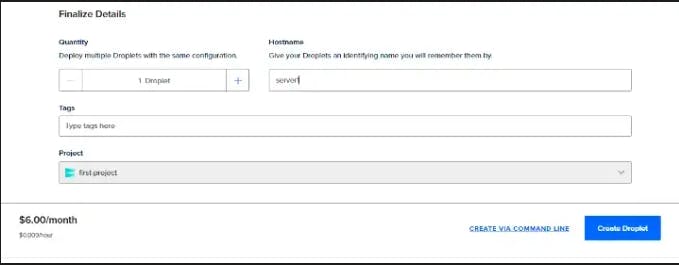
Now that you have added your SSH key. You can also put in the name you want the server to be called in that case mine is server1. and from here you can now click on create droplet to create the server.
Step 5: Create your server and access it
Once you have selected all of your server's specifications and added any additional options, you can click the "Create" button to create your server. DigitalOcean will then create your server and provide you with an IP address and login credentials.
Now that it’s done, let’s now see if we can ssh into our server from our virtual machine. All you need is the IP address above. Copy it and head over to your machine and type it in.
ssh <name of machine>@ip address
in my case mine is
ssh root@144.126.200.195
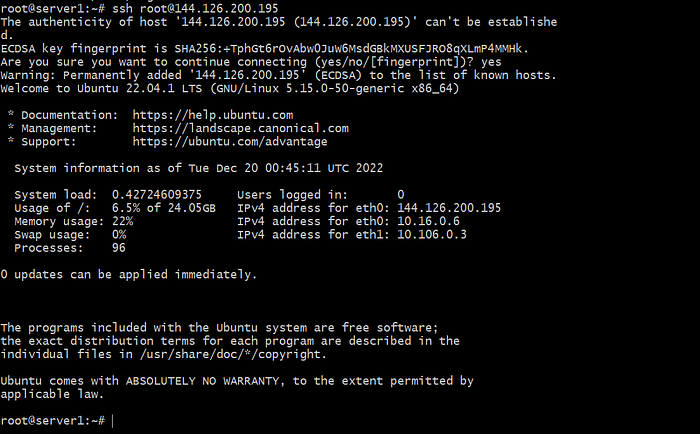
it works!!, and now we are inside our server through SSH.
If you loved this blog post give it a like, comment, and don’t forget to click on the follow button.